



Changing the drill bit on a drilling machine is a fundamental skill that every operator should master. As a trusted drilling machine supplier, we understand the importance of this task and are here to guide you through the process. In this blog, we'll walk you through the steps to change the drill bit safely and efficiently, ensuring your drilling operations run smoothly.
Understanding the Importance of Changing Drill Bits
Drill bits are the cutting tools of a drilling machine, and they play a crucial role in the drilling process. Over time, drill bits can wear out due to friction, heat, and the material being drilled. A worn - out drill bit can lead to poor drilling performance, such as slower drilling speed, inaccurate holes, and increased energy consumption. Therefore, regularly changing the drill bit is essential to maintain the efficiency and quality of your drilling operations.
Tools and Materials You'll Need
Before you start changing the drill bit, gather the following tools and materials:
- Wrench: A suitable wrench is required to loosen and tighten the drill chuck. The size of the wrench depends on the type and size of the drilling machine.
- New Drill Bit: Make sure you have the correct type and size of the drill bit for your drilling task. Different materials and applications require different drill bit designs, such as twist drill bits for general - purpose drilling, masonry drill bits for concrete and brick, and wood drill bits for woodworking.
- Safety Gear: Wear safety goggles to protect your eyes from flying debris, and gloves to prevent injuries.
Step - by - Step Guide to Changing the Drill Bit
Step 1: Power Off the Drilling Machine
Safety should always be your top priority. Before you start changing the drill bit, turn off the drilling machine and unplug it from the power source. This will prevent any accidental start - up that could cause serious injuries.
Step 2: Identify the Drill Chuck
The drill chuck is the part of the drilling machine that holds the drill bit in place. It is usually located at the front end of the drill. There are two main types of drill chucks: key - operated chucks and keyless chucks.
- Key - Operated Chucks: If your drilling machine has a key - operated chuck, insert the chuck key into the holes on the chuck. Turn the key counter - clockwise to loosen the chuck. As you turn the key, the jaws of the chuck will open, allowing you to remove the old drill bit.
- Keyless Chucks: For keyless chucks, hold the chuck body firmly with one hand and rotate the chuck collar counter - clockwise with the other hand. This will open the jaws of the chuck, and you can then remove the old drill bit.
Step 3: Remove the Old Drill Bit
Once the chuck is loosened, gently pull the old drill bit out of the chuck. Be careful not to damage the drill bit or the chuck. If the drill bit is stuck, you can use a pair of pliers to grip the bit and carefully pull it out. However, make sure not to apply too much force, as this could damage the chuck.
Step 4: Select the New Drill Bit
Choose the appropriate drill bit for your drilling task. Consider the material you are drilling, the size of the hole you need to make, and the type of drilling machine you are using. For example, if you are drilling into metal, a high - speed steel drill bit is a good choice. If you are drilling into concrete, a masonry drill bit is required.
Step 5: Insert the New Drill Bit
Place the shank of the new drill bit into the jaws of the chuck. Make sure the drill bit is centered and straight. For key - operated chucks, insert the chuck key into the holes on the chuck and turn it clockwise to tighten the chuck. For keyless chucks, hold the chuck body firmly and rotate the chuck collar clockwise to tighten the jaws around the drill bit. Tighten the chuck securely to prevent the drill bit from slipping during operation.
Step 6: Check the Tightness
After tightening the chuck, give the drill bit a gentle tug to make sure it is securely held in place. If the drill bit moves or wobbles, loosen the chuck and re - insert the drill bit, then tighten the chuck again.
Tips for Changing Drill Bits
- Keep the Chuck Clean: Regularly clean the chuck to prevent debris from accumulating, which can affect the performance of the chuck and the drill bit.
- Use the Right Drill Bit for the Job: Using the wrong drill bit can lead to poor drilling results and premature wear of the drill bit.
- Store Drill Bits Properly: Store drill bits in a dry and clean place to prevent rust and damage.
Our Drilling Machine Offerings
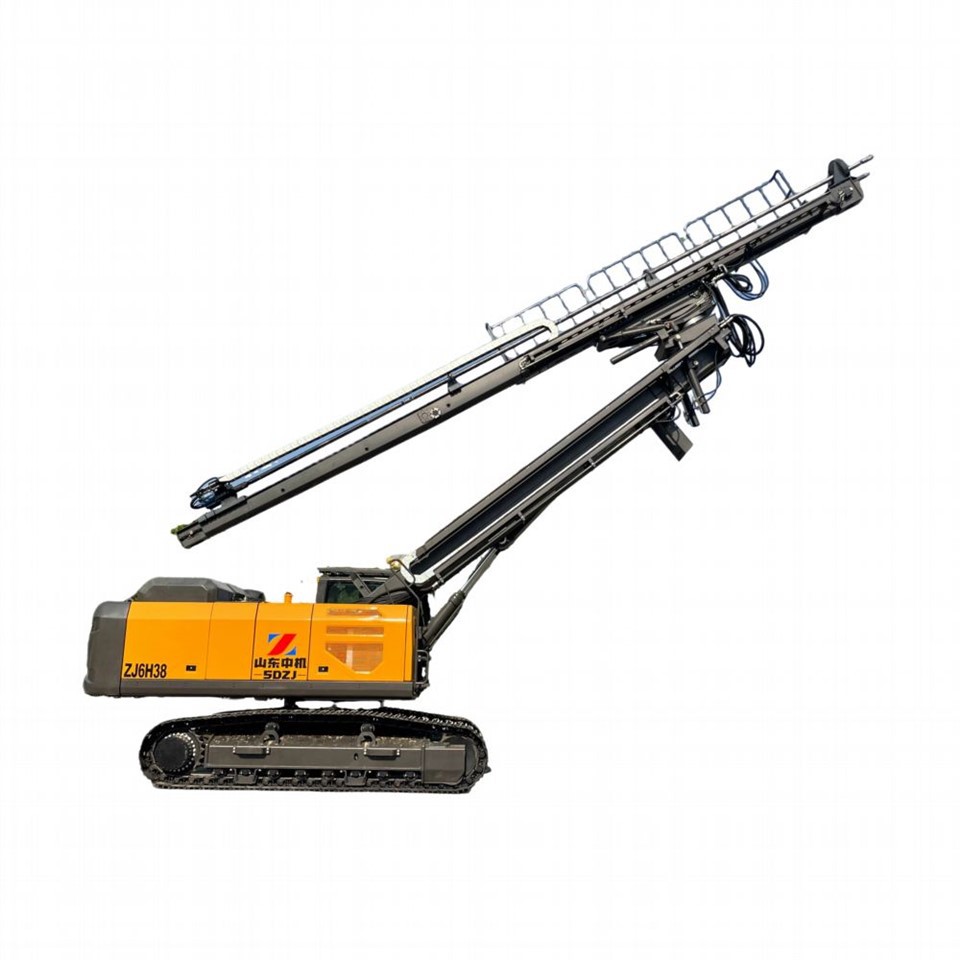
As a leading drilling machine supplier, we offer a wide range of high - quality drilling machines to meet your various needs. Our Top Hammer Drilling Rig is designed for efficient and precise drilling in various geological conditions. It is equipped with advanced technology and features, such as high - power motors and reliable drill bits, to ensure excellent performance.
In addition, our Anchor Drilling Rig is ideal for anchor installation in construction projects. It offers high stability and accuracy, making it a popular choice among contractors.
Contact Us for Purchasing
If you are interested in our drilling machines or need more information about changing drill bits, please feel free to contact us. Our team of experts is ready to assist you with your drilling needs. We can provide you with detailed product information, technical support, and competitive pricing. Whether you are a small - scale contractor or a large - scale construction company, we have the right drilling machine solution for you.

References
- Drilling Machine Operator's Manuals
- Industry Standards for Drill Bit Selection and Use


