



Hey there! As a supplier of silent generator sets, I often get asked about how to install the soundproofing cover of these silent generator sets. It's a crucial part of ensuring that your generator operates quietly and efficiently. In this blog post, I'll walk you through the process step by step.
Why Soundproofing Covers Matter
Before we dive into the installation process, let's talk about why soundproofing covers are so important. Silent generator sets are designed to reduce noise levels, but without a proper soundproofing cover, they can still be quite noisy. A good soundproofing cover helps to contain the noise within the generator, making it more suitable for use in residential areas, hospitals, schools, and other noise - sensitive environments.
Tools and Materials You'll Need
Here's a list of the tools and materials you'll need for the installation:
- Screwdriver set (both flat - head and Phillips - head)
- Wrench set
- Measuring tape
- Safety goggles
- Gloves
- The soundproofing cover itself, which should come with the silent generator set. If you're looking for a high - quality silent generator, check out our WEICHAI Silent Engine Diesel Generator 13.5 - 825KVA.
Step 1: Preparation
First things first, make sure your generator is turned off and has cooled down completely. Safety is always the top priority. You don't want to get burned or electrocuted during the installation process.
Next, clear the area around the generator. Remove any debris, tools, or other objects that might get in the way. You'll need plenty of space to work.
Take a good look at the soundproofing cover and the generator. Familiarize yourself with the different parts and how they fit together. There should be some markings or instructions on the cover to guide you.
Step 2: Measuring and Alignment
Use the measuring tape to ensure that the soundproofing cover fits the generator properly. Measure the length, width, and height of the generator and compare it with the dimensions of the cover. If there are any discrepancies, you may need to make some adjustments.
Once you've confirmed the fit, align the cover with the generator. There are usually some holes or slots on the cover that correspond to the mounting points on the generator. Make sure these are lined up correctly.
Step 3: Attaching the Cover
Now it's time to start attaching the cover to the generator. Begin by inserting the screws or bolts through the holes in the cover and into the mounting points on the generator. Use the appropriate screwdriver or wrench to tighten them.
Start with the corners and work your way around the cover. Make sure the cover is evenly attached and there are no gaps or loose parts. Tighten the screws or bolts firmly, but don't over - tighten them, as this could damage the cover or the generator.
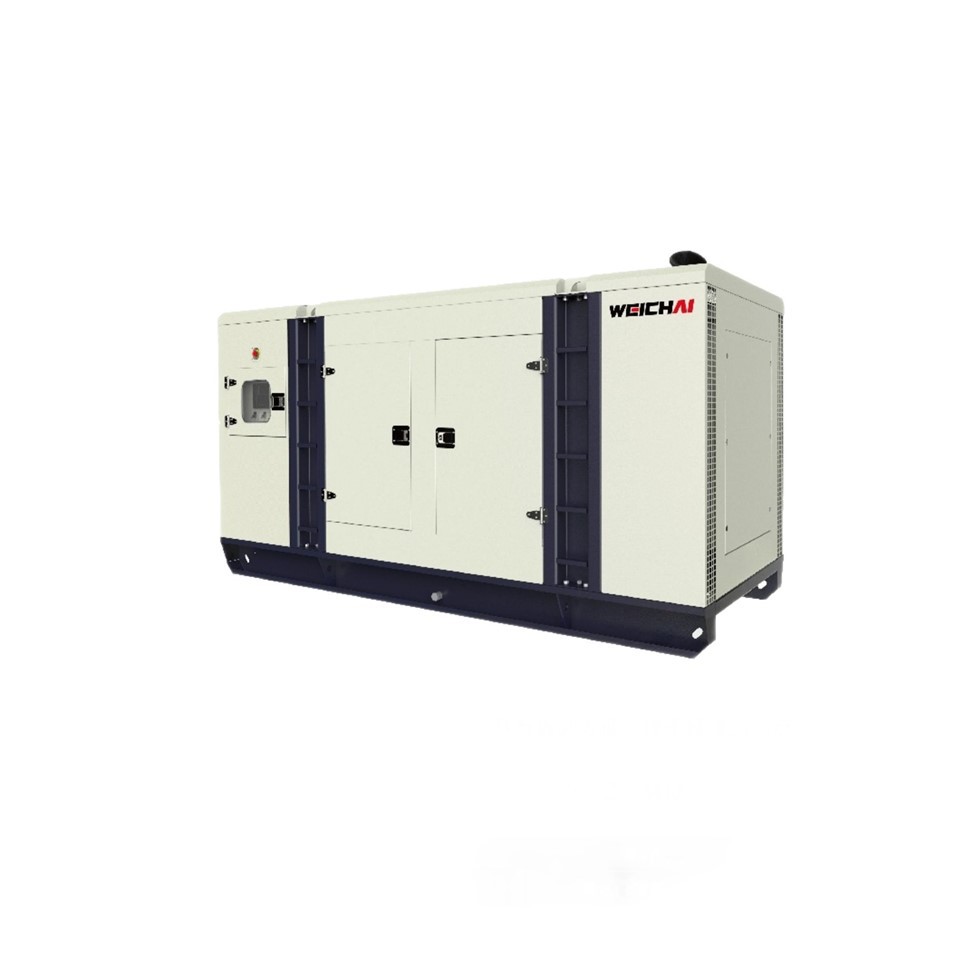
Step 4: Sealing the Edges
To ensure maximum soundproofing, it's important to seal the edges of the cover. Most soundproofing covers come with a rubber gasket or sealant. Apply the sealant along the edges of the cover where it meets the generator. This will help to prevent noise from leaking out.
Make sure the sealant is evenly applied and there are no gaps. You can use a putty knife or your finger to smooth out the sealant.
Step 5: Testing
Once the cover is installed and sealed, it's time to test the generator. Turn it on and listen for any unusual noises. If the generator is still noisy, check the cover for any loose parts or gaps. You may need to tighten the screws or add more sealant.
If everything sounds good, congratulations! You've successfully installed the soundproofing cover of your silent generator set.
Maintenance Tips
After installing the soundproofing cover, it's important to maintain it properly. Here are some tips:
- Regularly check the screws and bolts to make sure they're tight. Loose screws can cause the cover to vibrate and make noise.
- Clean the cover regularly to remove any dirt, dust, or debris. You can use a soft cloth and mild detergent.
- Inspect the sealant for any signs of wear or damage. If the sealant is cracked or peeling, replace it.
Conclusion
Installing the soundproofing cover of a silent generator set is not as difficult as it may seem. With the right tools, materials, and a little bit of patience, you can do it yourself. Remember, a properly installed soundproofing cover not only reduces noise but also protects your generator from the elements.
If you're in the market for a silent generator set or need more information about our products, don't hesitate to reach out to us. We're here to help you find the perfect generator for your needs. Whether you're a homeowner, a business owner, or an industrial user, we have a solution for you. Contact us today to start the procurement process and let's discuss how we can meet your power requirements.
References
- Generator installation manuals provided by the manufacturer.
- Industry best practices for soundproofing generator sets.


