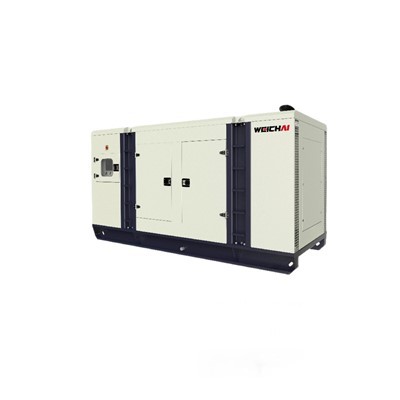


Installing the fuel tank of a silent generator set is a crucial step that requires careful planning and execution. As a supplier of silent generator sets, I understand the importance of this process and am here to guide you through it. In this blog, I'll share a comprehensive guide on how to install the fuel tank of a silent generator set, covering everything from preparation to the final checks.
Preparation
Before you start the installation process, it's essential to gather all the necessary tools and materials. Here's a list of what you'll need:
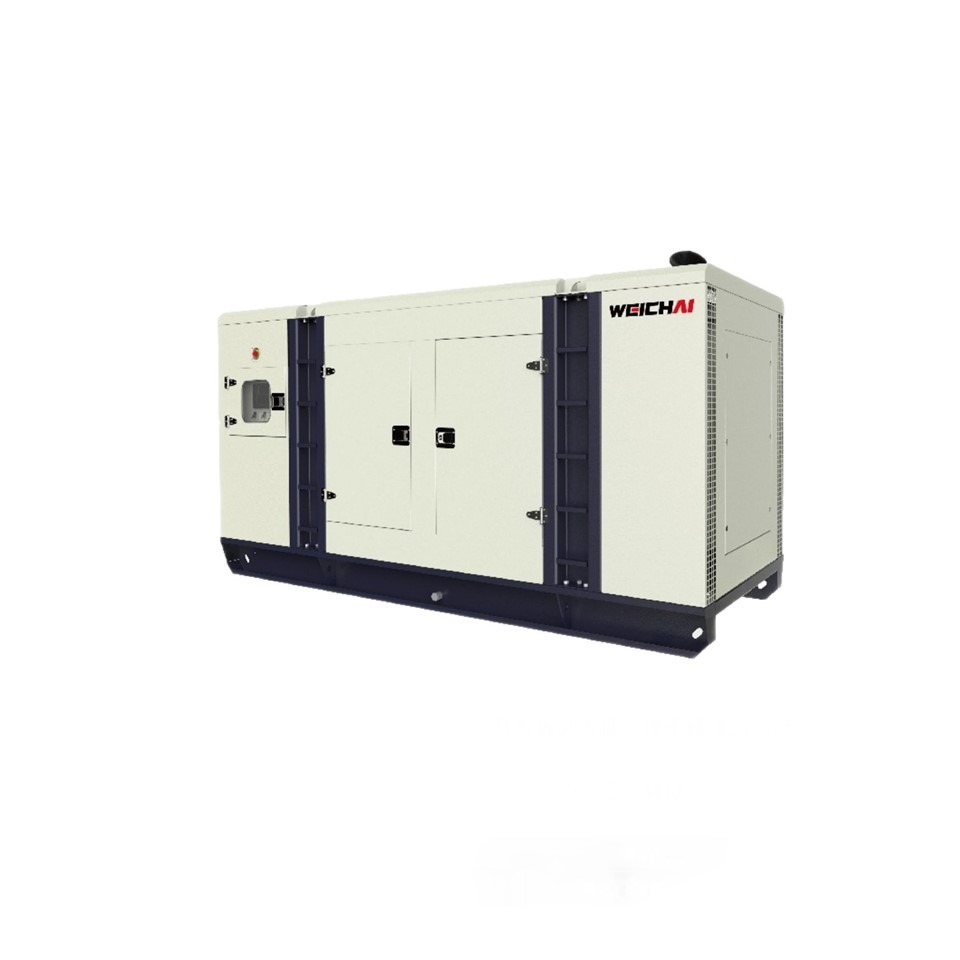
- Fuel tank: Ensure that the fuel tank you've chosen is compatible with your silent generator set. Consider factors such as capacity, material, and design. For example, if you have a WEICHAI Silent Engine Diesel Generator 13.5 - 825KVA, you need to select a fuel tank that can meet its fuel consumption requirements.
- Wrenches and screwdrivers: Different sizes of wrenches and screwdrivers will be needed to loosen and tighten bolts and screws during the installation.
- Sealant: A high - quality sealant is necessary to prevent fuel leaks. Make sure it is suitable for use with the fuel type your generator uses.
- Measuring tape: This will help you accurately position the fuel tank and ensure proper alignment.
- Safety equipment: Wear safety goggles, gloves, and appropriate clothing to protect yourself from potential hazards such as fuel spills.
Site Selection
The location where you install the fuel tank is of utmost importance. Here are some key considerations:
- Ventilation: The area should be well - ventilated to prevent the accumulation of fuel vapors, which can be explosive. Avoid installing the fuel tank in enclosed spaces without proper ventilation.
- Distance from the generator: Keep the fuel tank at a safe distance from the generator. This reduces the risk of fire in case of a fuel leak. A general rule of thumb is to maintain a minimum distance of at least 1 - 2 meters.
- Stability: The surface on which the fuel tank will be placed must be stable and level. Uneven surfaces can cause the tank to tilt, leading to fuel spills or improper fuel flow.
Installation Steps
1. Positioning the Fuel Tank
- Use a measuring tape to mark the exact location where the fuel tank will be installed. Ensure that it is centered and aligned with the generator's fuel inlet.
- Lift the fuel tank carefully and place it on the prepared surface. If the tank is large, you may need additional help or lifting equipment.
2. Connecting the Fuel Lines
- Identify the fuel inlet and outlet ports on the generator and the fuel tank.
- Use appropriate fuel hoses to connect the tank to the generator. Make sure the hoses are the correct size and are made of a material that is compatible with the fuel type.
- Apply a thin layer of sealant to the ends of the hoses before connecting them to the ports. This helps to create a tight seal and prevent fuel leaks.
- Use wrenches to tighten the hose clamps securely. Be careful not to overtighten, as this can damage the hoses or the ports.
3. Grounding the Fuel Tank
- Fuel tanks need to be grounded to prevent static electricity buildup, which can cause a fire or explosion.
- Connect a grounding wire from the fuel tank to a suitable grounding point, such as a metal rod driven into the ground. Make sure the connection is secure.
4. Mounting the Fuel Tank
- If the fuel tank comes with mounting brackets, attach them to the tank using the appropriate bolts and nuts.
- Align the mounting brackets with the pre - drilled holes on the installation surface and secure the tank in place.
5. Checking the Installation
- Once the fuel tank is installed and connected, perform a thorough visual inspection. Check for any loose connections, fuel leaks, or signs of damage.
- Start the generator and let it run for a few minutes. Monitor the fuel flow and check for any abnormal noises or vibrations.
Troubleshooting
Even with careful installation, issues may arise. Here are some common problems and their solutions:
- Fuel leaks: If you notice a fuel leak, immediately shut off the generator and the fuel supply. Check the hose connections and the seals. Tighten any loose connections or replace the seals if necessary.
- Poor fuel flow: This could be due to a clogged fuel filter or a kinked fuel hose. Check the fuel filter and replace it if it is dirty. Straighten any kinked hoses.
- Static electricity problems: If you experience static electricity issues, make sure the fuel tank is properly grounded. Check the grounding wire for any loose connections or damage.
Maintenance
Proper maintenance of the fuel tank is essential to ensure the long - term performance of your silent generator set. Here are some maintenance tips:
- Regular inspections: Check the fuel tank for any signs of corrosion, leaks, or damage on a regular basis.
- Fuel quality: Use clean and high - quality fuel to prevent clogging of the fuel system.
- Filter replacement: Replace the fuel filter at the recommended intervals to ensure proper fuel flow.
Conclusion
Installing the fuel tank of a silent generator set is a complex but manageable process. By following the steps outlined in this guide, you can ensure a safe and efficient installation. As a supplier of silent generator sets, I'm committed to providing you with the best products and support. If you have any questions or need further assistance with the installation or maintenance of your silent generator set, don't hesitate to contact us for procurement and further discussions.
References
- Generator Set Installation Manuals
- Fuel Tank Manufacturer's Guidelines
- Safety Standards for Fuel Storage and Handling